This article was written in Korean and then translated into English, so there may be inaccuracies.
Tested on Kubernetes version 1.30.5.
The physical equipment used is as follows:
Prerequisites
- A Kubernetes cluster is required.
- An HAProxy is needed for the bare-metal environment (used with NodePort & TLS termination).
- A pre-configured dynamic storage class must be available for the cluster.
Exclude any remaining Taints after deploying the gpu-operator.
Ensure proper Pod scheduling by excluding tainted nodes during deployment.
kubectl taint node tk8s-gpu nvidia.com/gpu=present:NoSchedule-Node Preparation Tasks

Adjusting Linux Kernel File System Notification Limits for Handling Large Numbers of Pods
sudo sysctl fs.inotify.max_user_instances=2280
sudo sysctl fs.inotify.max_user_watches=1255360
Since the value resets after a reboot, follow these steps to apply the configuration permanently:
‘/etc/sysctl.conf’ modify.
# /etc/sysctl.conf
fs.inotify.max_user_instances=2280
fs.inotify.max_user_watches=1255360
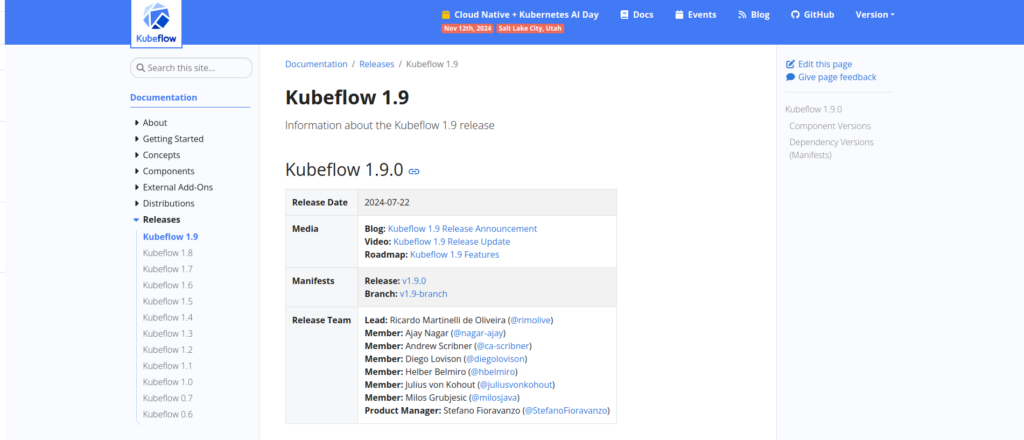
Kubeflow Install

Git Clone
Git Clone
git clone https://github.com/kubeflow/manifests.gitChange Branch
git branch -a
git checkout -b v1.7-branch origin/v1.7-branch
NodePort Change
~/manifests/common/istio-1-16/istio-install/base/patches/service.yaml
apiVersion: v1
kind: Service
metadata:
  name: istio-ingressgateway
  namespace: istio-system
spec:
  #type: ClusterIP
  ports:
  - name: status-port
    nodePort: 30110
    port: 15021
    protocol: TCP
    targetPort: 15021
  - name: http2
    nodePort: 30111
    port: 80
    protocol: TCP
    targetPort: 8080
  - name: https
    nodePort: 30112
    port: 443
    protocol: TCP
    targetPort: 8443
  type: NodePort
Deploy
while ! kustomize build example | kubectl apply -f -; do echo "Retrying to apply resources"; sleep 20; doneKubeflow Login
Reverse Proxy Setup:
Use a reverse proxy (like HAProxy or Nginx) to route traffic from an external domain to the NodePort service.
user@example.com : 12341234
LogOut Redirect Setting
Create VirtualService
apiVersion: networking.istio.io/v1beta1
kind: VirtualService
metadata:
  name: authservice-logout
  namespace: istio-system
spec:
  gateways:
    - kubeflow/kubeflow-gateway
  hosts:
    - '*'
  http:
    - match:
        - uri:
            prefix: /authservice/site/after_logout
      rewrite:
        uri: /
      route:
        - destination:
            host: authservice.istio-system.svc.cluster.local
            port:
              number: 8080
Removing Resource Limits
# kubeflow jupyter-web-app-config를 수정합니다. hash값은 사용자에 따라 다를 수 있습니다.
kubectl edit -n kubeflow cm jupyter-web-app-config-{hash}
# hash값은 사용자에 따라 다를 수 있습니다.
kubectl delete po -n kubeflow jupyter-web-app-deployment-{hash}
Taint Setting.
기본 설정으로는 gpu노드를 명시적으로 선택을 할 수 없습니다.

gpu 노드를 명시적으로 사용할수 있도록 toleration을 설정합니다.
노드에는 Taint설정이 필요합니다. 본 글에서는 gpu-operator를 이용했던 내용을 재사용합니다.
kubectl taint node tk8s-gpu nvidia.com/gpu=present:NoSchedule
Toleration 설정
jupyter notebook설정파일을 수정합니다.
# kubeflow jupyter-web-app-config를 수정합니다. hash값은 사용자에 따라 다를 수 있습니다.
kubectl edit -n kubeflow cm jupyter-web-app-config-{hash}
환경설정 적용을 위하여 기존 POD를 삭제합니다.(Rollout restart도 가능)
# hash값은 사용자에 따라 다를 수 있습니다.
kubectl delete po -n kubeflow jupyter-web-app-deployment-{hash}
적용이되면 아래와 같이 선택옵션이 추가됩니다.

TimeSlicing 설정
gpu-operator를 이용하여 배포된 환경에서 진행되는 방법입니다.
time-slicing-config-all.yaml 파일 생성하여 1개의 gpu를 4개로 사용 할 계획입니다.
apiVersion: v1
kind: ConfigMap
metadata:
  name: time-slicing-config-all
  namespace: gpu-operator
data:
  any: |-
    version: v1
    flags:
      migStrategy: none
    sharing:
      timeSlicing:
        resources:
        - name: nvidia.com/gpu
          replicas: 4
배포하고 적용합니다.
kubectl create -f time-slicing-config-all.yamlkubectl patch clusterpolicies.nvidia.com/cluster-policy \
-n gpu-operator --type merge \
-p '{"spec": {"devicePlugin": {"config": {"name": "time-slicing-config-all", "default": "any"}}}}'gpu-feature-discovery, nvidia-device-plugin-daemonset POD가 재기동 됩니다.


샘플 POD생성 테스트
# cuda_vector_add.yaml
apiVersion: v1
kind: Pod
metadata:
  name: cuda-vectoradd
spec:
  restartPolicy: OnFailure
  containers:
  - name: cuda-vectoradd
    image: "nvidia/samples:vectoradd-cuda11.2.1"
    resources:
      limits:
         nvidia.com/gpu: 1
  tolerations:
  - effect: NoSchedule
    key: nvidia.com/gpu
    operator: Exists
동시에 5개 생성을 시도합니다.

TimeSlicing이반영되어 4개의 논리적으로 4개의 gpu가 사용 가능하므로 4개의 pod는 동작하고 1개 pod는 대기상태가 됩니다. 앞에 실행된 pod가 동작 완료되면 5번 테스트 pod도 동작하고 모두 완료 처리됩니다.

검증을 위한 테스트 노트북 생성
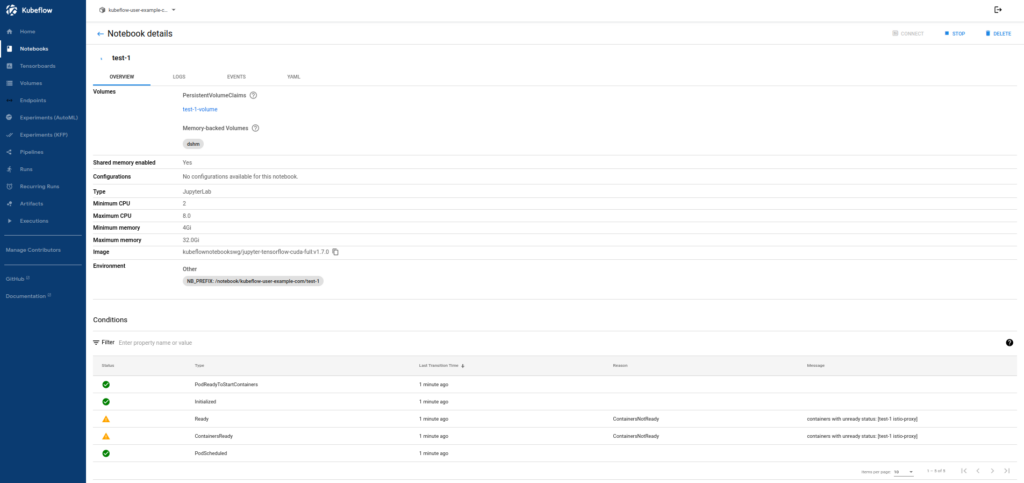
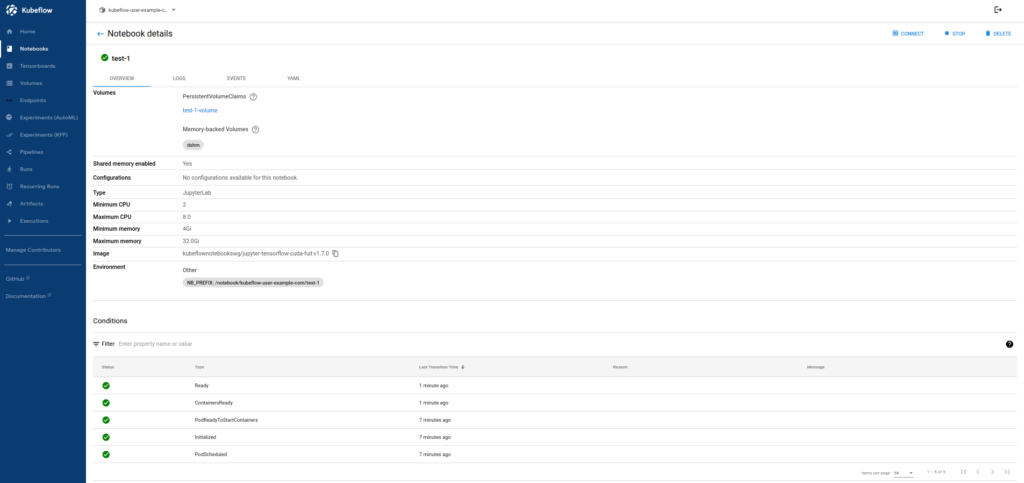
아래와 같이 셋팅합니다.
이미지는 cuda를 사용합니다.


2gpu를 2개 씩 2개 노트북에 할당하고 1gpu를 1개 할당하여 노트북을 추가하면 1개 추가한 것은 대기상태가 된다.


